|
|
EN Läger anlegen und verwalten
Dieses englische Dokument werden wir so bald wie möglich für Sie übersetzen.
Introduction
The following screen allows you to create and maintain warehouses. You can assign items to the warehouse, define the warehouse address, view purchase and sales orders that are linked to the warehouse, view items that are stored in the warehouse, and modify the serial/batch numbers for the items stored in the warehouse.
Menu path
- To create a new warehouse, go to Inventory/Warehouse management/Warehouses, and then click New.
- To modify an existing warehouse, go to Inventory/Warehouse management/Warehouses, select the warehouse to be modified, and then click Open.
Description

Warehouse code
Type a code for the warehouse. This is mandatory.
Note: This field cannot be edited once you have saved the warehouse.
Name
Type a name for the warehouse.
Status
Select a status for the warehouse such as Active or Blocked. By default, Active is selected.
Drop ship
Select this check box if the warehouse is to be used for drop shipping.
Note: Defining a warehouse for drop shipping can only be done when creating a new warehouse entry. Once you have saved the warehouse entry, this check box is disabled.
| Tab Name |
Description (full HTML content) |
| Basics |
Basics tab
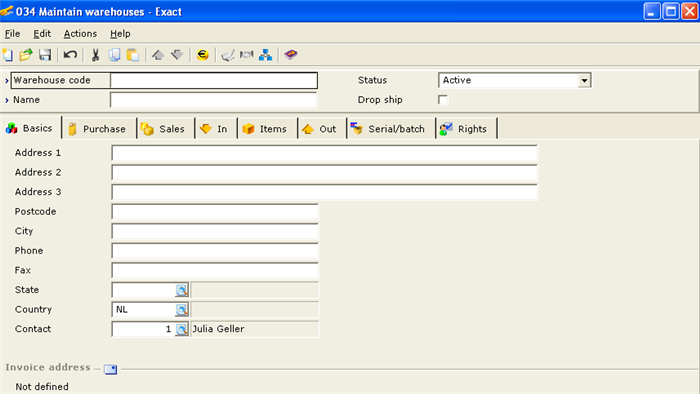
Address 1/2/3
Type the address of the warehouse.
Postcode
Type the postcode of the warehouse.
City
Type the city of the warehouse.
Phone
Type the phone number of the warehouse.
Fax
Type the fax number of the warehouse.
State
Type or select the state where the warehouse is located.
Country
Type or select the country where the warehouse is located.
Contact
Type or select a contact person for the warehouse.
Invoice address
This section displays the invoice address that is linked to the warehouse.

Click this to insert an invoice address for the warehouse. “Not defined” is displayed if an invoice address is not linked to the warehouse.

Click this to delete the invoice address. A message “Clear Invoice address?” will be displayed. Click Yes to delete the invoice address or No to exit. |
| Warehouse locations |
Warehouse locations tab
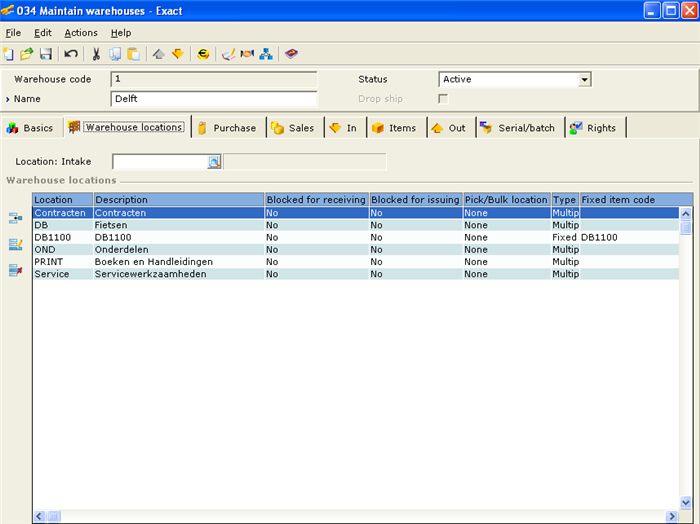
Note: This tab is available only if you have selected the Warehouse locations check box in the Fulfillment section under Inventory settings in system settings (at System/General/Settings).
Location: Intake
Type or select a default location for the warehouse. The location is available for selection only if you have created a location for the warehouse under the Warehouse locations section.
 New New
Click this to create a new location for the warehouse. For more information, see Creating and Maintaining Warehouse Locations.
 Edit Edit
Click this to modify the selected location of the warehouse. For more information, see Creating and Maintaining Warehouse Locations.
Note: This is enabled only if a warehouse location is selected.
 Delete Delete
Click this to delete the selected location of the warehouse. A message “Delete” will be displayed. Click Yes to delete the warehouse location or No to exit. The location of the warehouse can be deleted only if it is not a default location for the warehouse.
Note: This is enabled only if a warehouse location is selected. |
| Purchase |
Purchase tab
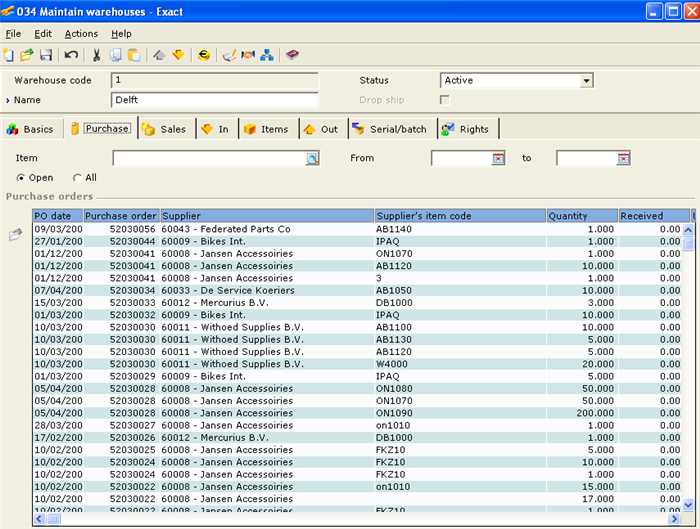
Item
Type or select an item to display purchase orders with the selected item.
If Open is selected, all the purchase orders with the selected item that are not received, invoiced, or paid will be displayed. By default, this is selected. If All is selected, all the purchase orders with the selected item will be displayed.
From/to
Type or select the date or date range in which the purchase orders with the selected item were created to search for the purchase orders with the selected date.
Note: Typing or selecting only the start date will display purchase orders that were created on or after the selected date. Typing or selecting only the end date will display purchase orders that were created on and before the selected date.
 Details Details
Click this to view and/or edit the selected purchase order. For more information, see Creating and Maintaining Purchase Orders.
Note: This is enabled only if you have selected a purchase order. |
| Sales |
Sales tab
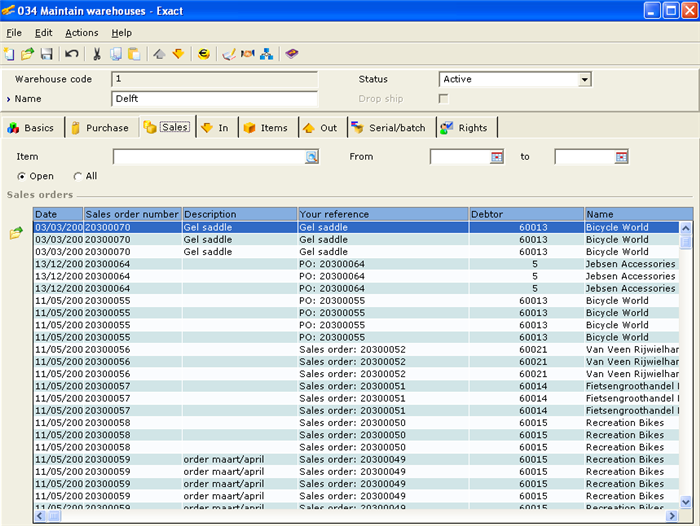
Item
Type or select an item to display sales orders with the selected item.
If Open is selected, all the sales orders that are not fulfilled, invoiced, or paid will be displayed. By default, this is selected. If All is selected, all the sales orders with the selected item will be displayed.
From/to
Type or select the date or date range in which the sales orders with the selected item were created to search for the sales orders with the selected date.
Note: Typing or selecting only the start date will display sales orders that were created on or after the selected date. Typing or selecting only the end date will display sales orders that were created on and before the selected date.
Details
Click this to view and/or edit the selected sales order. For more information, see Creating and Maintaining Sales Orders.
Note: This is enabled only if you have selected a sales order. |
| In |
In tab
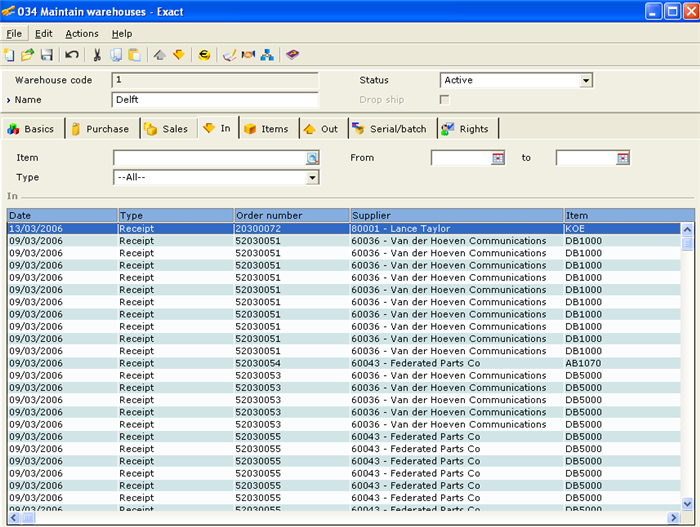
Item
Type or select an item to display the orders (purchase order, production order, internal use request, transaction counts, and/or returns) of the selected item that has been received by the warehouse. Leave this box blank to display all the items received by the warehouse.
Type
Select the type of order to be displayed. You can select any of the following types:
-
All — Select this to display all the orders with the selected item. By default, this is selected. -
Purchase order — Select this to display purchase orders with the selected item. -
Production order — Select this to display production orders with the selected item. -
Internal use — Select this to display the internal use request for the selected item. -
Count — Select this to display all transactions with the selected item. -
Return — Select this to display all transactions where the selected item has been returned.
From/to
Type or select the date or date range in which orders with the selected item were created to search for the orders with the selected date.
Note: Typing or selecting only the start date will display orders that were created on or after the selected date. Typing or selecting only the end date will display orders that were created on and before the selected date. |
| Items |
Items tab
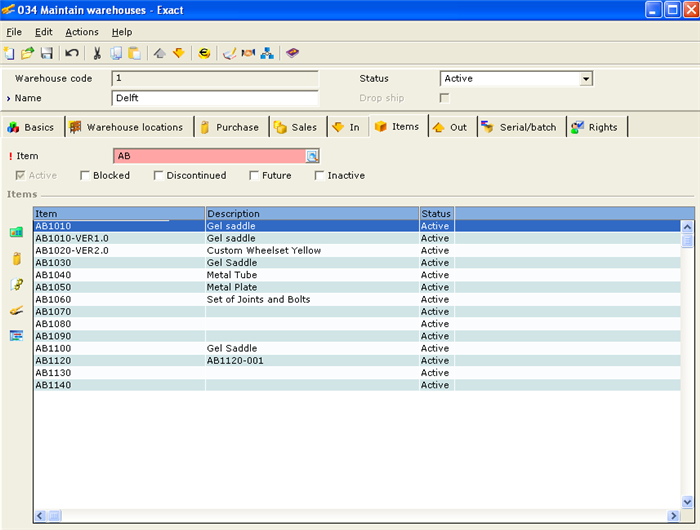
Item
Type or select an item to be displayed. Leave this box blank to display all the items in the warehouse.
Active
Select this check box to display items in the warehouse with active status. By default, this check box is selected.
Note: This check box is enabled only if the Blocked, Discontinued, Future, and/or Inactive check box is selected.
Blocked
Select this check box to display items in the warehouse that are blocked.
Discontinued
Select this check box to display items in the warehouse that are discontinued.
Future
Select this check box to display items in the warehouse that are for future use.
Inactive
Select this check box to display items in the warehouse that are inactive.
 Item transaction card Item transaction card
Click this to view the transaction card of the selected item. For more information, see Viewing Item Transactions.
 Purchase Purchase
Click this to view the purchase order overview for the selected item. For more information, see Overview of Purchase Orders.
 Produce Produce
Click this to view and/or edit the production order of the selected item. For more information, see Creating and Maintaining Production Orders.
 Item management Item management
Click this to view and/or edit the details of the selected item. For more information, see Creating and Maintaining Items.
 Avail. Stock Avail. Stock
Click this to view the stock availability of the selected item. |
| Out |
Out tab
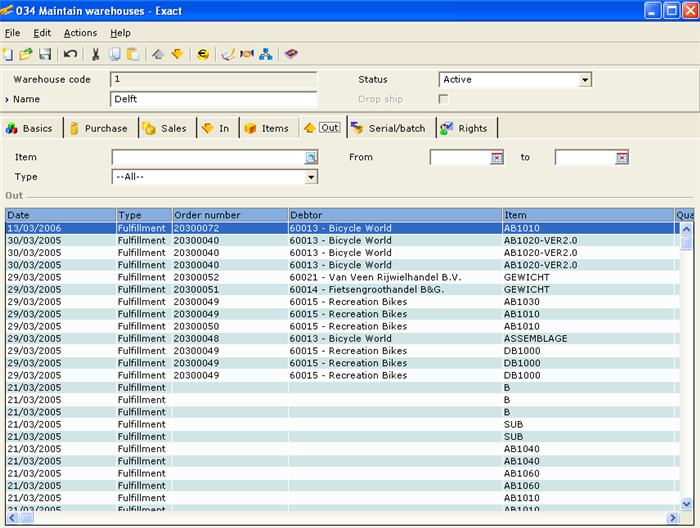
Item
Type or select an item to display the orders of the selected item that has been fulfilled. Leave this box blank to display all the items that have been fulfilled by the warehouse.
Type
Select the type of order to be displayed. You can select any of the following types:
-
All — Select this to display all the orders with the selected item. By default, this is selected. -
Sales order — Select this to display sales orders with the selected item. -
Production order — Select this to display production orders with the selected item. -
Internal use — Select this to display the internal use request for the selected item. -
Count — Select this to display all transactions with the selected item.
From/to
Type or select the date or date range in which orders with the selected item were created to search for the orders with the selected date.
Note: Typing or selecting only the start date will display orders that were created on or after the selected date. Typing or selecting only the end date will display orders that were created on and before the selected date. |
| Serial/batch |
Serial/batch tab
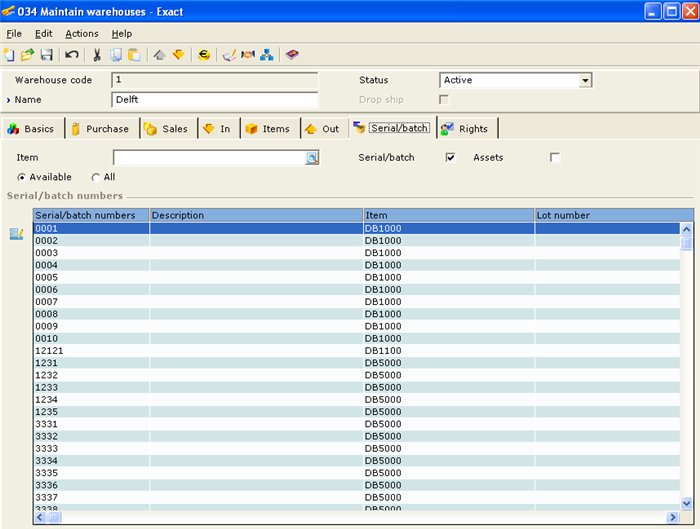
Item
Type or select an item to display the serial or batch numbers of the selected item in the warehouse. Leave this box blank to display all the items with serial or batch numbers.
Available
Select this to search for the items with serial or batch numbers that are still available in the warehouse. By default, this is selected.
All
Select this to search for all the items with serial or batch numbers in the warehouse.
Serial/batch
Select this check box to display the serial or batch numbers of the selected item.
Assets
Select this check box to display the serial or batch numbers of the selected asset.
Edit
Click this to view and/or edit the serial or batch numbers of the selected item. For more information, see Creating and Maintaining Serial-Batch Numbers. |
| Rights |
Rights tab

Status
Select the status of the resource. You can select any of the following:
-
All — Select this to display resources with any status. By default, this is selected. -
Active — Select this to display resources with the active status. -
Hired — Select this to display resources with the hired status. -
Inactive — Select this to display resources with the inactive status. -
Future — Select this to display resources with the future status.
Resource
Type or select the resource to be displayed under the No rights section. If this field is left blank, all resources will be displayed.
Cost center
Type or select the cost center to display resources from the selected cost center. Leave this box blank to display resources from any cost center.
Full name
Type the full name of the resource to be displayed. Leave this box blank to display resources with any name.

Click this to transfer the selected resource from the No rights section to the Rights section.

Click this to transfer all the resources from the No rights section to the Rights section.

Click this to transfer the selected resource from the Rights section to the No rights section.

Click this to transfer all the resources from the Rights section to the No rights section. |
Button

Assign items
Click this to assign or remove items to or from the warehouse. In the Maintain warehouses – Assign screen, click Assign to assign all the items displayed to the warehouse, Unassign to remove all the items displayed from the warehouse, or Close to exit.
Item transactions
Click this to view the transactions of the item that is stored in the selected warehouse. For more information, see Searching for Item Transactions.
Counts
Click this to create stock counts for the items in the selected warehouse. For more information, see Creating Stock Counts.
Save
Click this to save the warehouse.
New
Click this to create a new warehouse.
Close
Click this to exit.
Related document
| Main Category: |
Support Product Know How |
Document Type: |
Online help main |
| Category: |
On-line help files |
Security level: |
All - 0 |
| Sub category: |
Details |
Document ID: |
21.189.250 |
| Assortment: |
Exact Globe
|
Date: |
15-11-2010 |
| Release: |
|
Attachment: |
|
| Disclaimer |
|
|
|