Introduction
This document describes the steps to install and configure the E-WMS and ICL 'RF' services.
Description
This document contains the following sections:
About the services
Purpose
The E-WMS and ICL services perform tasks automatically which otherwise have
to be performed manually in Control Centers. Usage of the services is not
mandatory, but will enhance 'real time' stock transaction processing for E-WMS
and order processing in ICL. Please read more about the services in document
WMS and ICL Services: purpose, specifics and requirements.
Requirements
Please read the following documents for the system requirements:
When to install
The services need to be (re-)installed on every Exact Globe
Next update - also when updating within the same release, because the E-WMS and ICL
service components can be changed in that update.
Installation preparation
Uninstall and where to find installation files
If you need to uninstall previous version of the services (which is always necessary
when you plan an Exact Globe
Next update) please
do this uninstall while the previous workstation installation is still
present. Otherwise there might be an error message on uninstalling the wrong
version. You can uninstall the services in the Windows 'Add/Remove programs' or
'Programs and Features' shortcut in Start, (Settings,) Control Panel. The
services are listed as 'E-WMS*', 'E-Mobile*' and 'Intercompany *'.
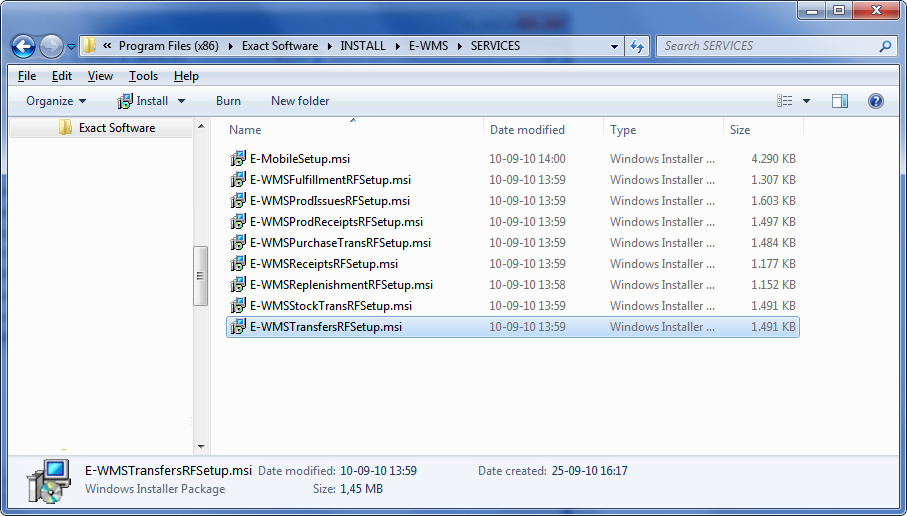
The services are installed by starting MSI installation files. With the
Exact Globe
Next product download, the E-WMS and ICL files are also
downloaded and after the workstation installation, the service installation files
can be found in these default folders (on a x64 PC) :
- WMS services: C:\Program Files
(x86)\Exact software\INSTALL\E-WMS\SERVICES
- ICL services: C:\Program Files (x86)\Exact software\INSTALL\ICL\SERVICES
What MSI files to install
You only have to install those services for the processes you are actually using in
E-WMS, for ICL always install both services. Which services are intended for
what process, can be found in document
WMS and ICL Services: purpose, specifics and requirements.
Installation
Start the MSI files one by one, by double-clicking the MSI file. This sample
shows the installation of the E-WMS Transfers service on a 64 bit Windows 7 PC.
Note: On a Windows server (Windows server 2012 for example)
it may be necessary to install the services as an administrator. To do so, start
the command prompt (cmd.exe) as an
administrator, change to the services installation folder and start the
msi from within the command prompt.
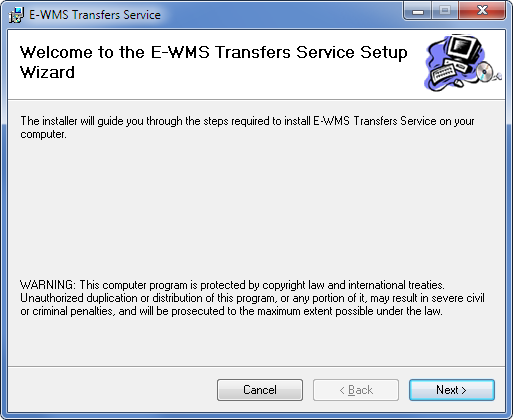
Press Next
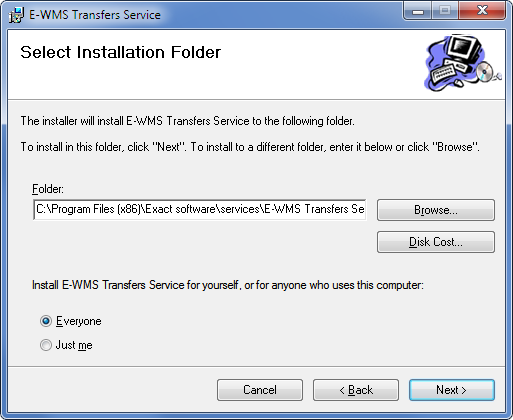
Please accept the default folder C:\Program
files (x86)\Exact software\WMS for the WMS services, or
C:\Program files (x86)\Exact software\ICL for the ICL services.
Install the services for 'everyone'. Press Next.
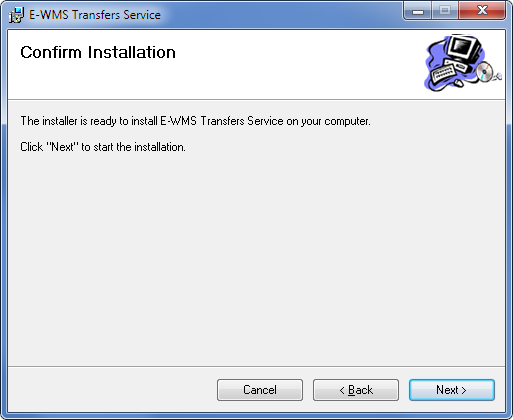
Press Next.
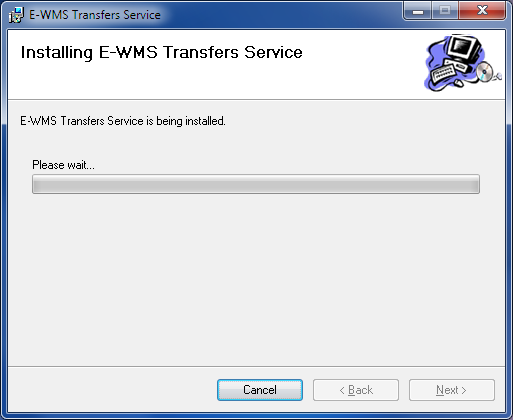
After a few seconds, a window will appear in the left top of your screen, to
configure the services logon account.
This window may be hidden behind other windows but has no
separate task bar icon, you can solve that by minimizing all windows and than
restoring any window again. This logon window should then also re-appear.
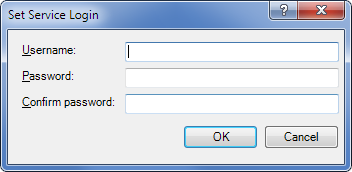
For account requirements, see document
WMS and ICL Services: purpose, specifics and requirements.
If you are using a domain account, use syntax 'domain\username'.
If you are using a local account, use syntax '.\username'. For example:
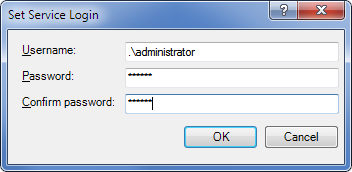
Press OK.
The service is now installed.
Service configuration
After first installation, the service does not 'know' yet, what Exact Globe
Next company
to connect to. This server and database link have to be configured in .CONFIG files,
which are located in the services installation folders.
- Start Windows File Explorer and browse to the folder where the service
was installed, for instance C:\Program Files
(x86)\Exact software\WMS\E-WMS Transfers Service:
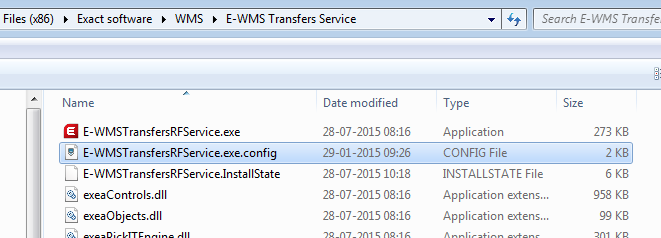
Note: If the Windows setting 'Hide extensions for known file types' is
enabled, then the CONFIG file will just show as 'E-WMSTransfersRFService.exe'
as well.
- Right-click on the CONFIG file and choose 'Open' or 'Open with'
and open the file with Notepad.
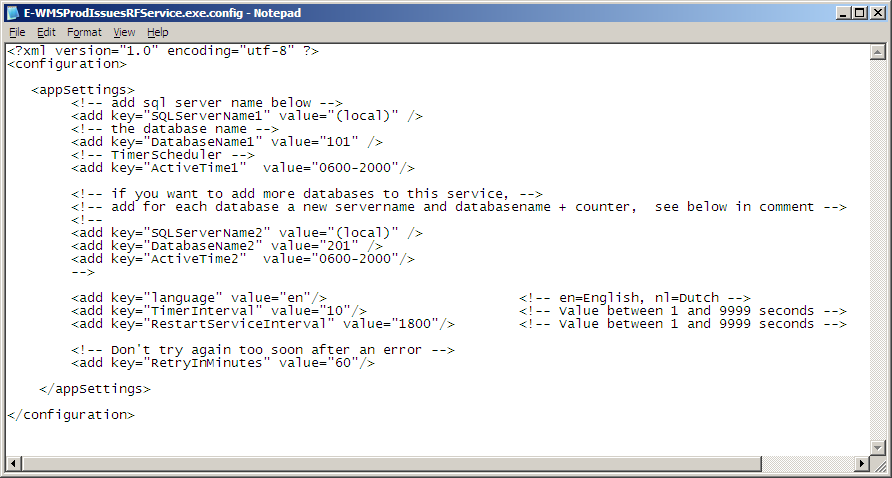
- The indicated values for SQLServerName1 and Databasename1 have to be
changed to the values for your own environment.
The SQL server name can be the server name or IP address of the SQL server.
Do not forget to include an instance name, when an instance name is used.
Samples of using SQL server names:
"value="SQL01"
"value="SQL01\SQL2014"
"value="10.2.100.3\SQL2012"
For ICL, the server- and database name of the central company always
has to
be used in the configuration file of both ICL services.
The database properties of the sales
companies are determined from the debtor data in the ICL central company.
If a database is both an ICL central and ICL sales (or ICL purchase)
database, it has to be included only as central database in the CONFIG file,
and you will need a second database entry for the second central database.
- Multiple databases
From product update
405, it is possible to configure multiple databases
for one service. For that purpose, you can change the CONFIG file as in
following sample:
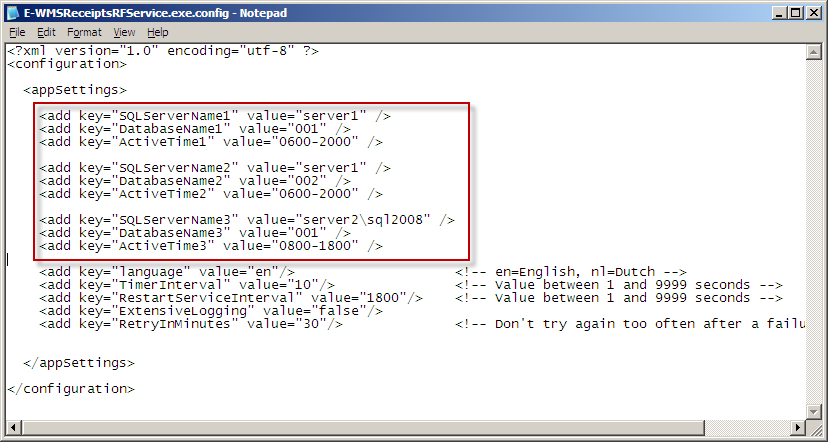
You can repeat the keys "SQLservernameX", "DatabaseNameX" and "ActiveTimeX",
just change the 'X' to a unique sequence number per connection.
The SQL server and database have to be reachable by a stable LAN connection.
When using multiple databases, the databases will be handled by the service
in sequence and not parallel. This means that the second and subsequent
databases will only be handled after the previous database is done - this
may cause some delay depending on the workload per database.
For any ICL sales- or purchase company found and processed by the service,
ALL orders will be exported disregarding the target central database. For
example: in Exact Globe Next, you are using central databases 001 and 004,
and ICL sales database 002 which uses 001 and 004 as central warehouse. For
the ICL services, only database 001 is configured. In this case, sales
orders intended for 001 and 004 are exported by the service, but only
changes and fulfillments for central database 001 are processed. So please
configure in this case both ICL central database 001 and 004 for the two ICL
services.
- ActiveTime
This setting is available from product update 405 and allows you to schedule
specific 'active' times for the service. During the non-active time period,
the service will still have the status 'started' but will not try to connect
to the databases. This way you can plan database maintenance jobs outside
working hours, without error messages created by the services. The default
active times are 06:00 until 20:00 (8 pm). Please enter this schedule only
in a 24 hour format, in format "xxxx-xxxx". This scheduled time is compared
to the system time of the services machine. You can enter a schedule within one
working day (0600-2000) or a schedule overlapping 00:00 : for example
'0600-0400' would start at 06:00 am and stop at 04:00 am the next day, which
means the service is inactive between 04:00 and 06:00.
Besides 'ActiveTime', the
Autoqueue service already had a schedule which can be maintained in
Exact Globe Next, to plan when new orders should be send picking. The
Autoqueue service will first apply the 'ActiveTime' from the CONFIG file,
and only after that the schedule from 'service schedules'.
- TimerInterval
This setting determines what interval is used to
check for new transactions to handle. The default value is 10 seconds. When
the service would be busy for longer than 10 seconds, it will start checking
for transactions immediately again. When multiple databases are to be
handled by the service, it may take longer than 10 seconds before a database
is polled again for new transactions.
- RestartServiceInterval
This setting determines what interval is used to automatically stop and
start the service. This has been implemented in the past to free up memory,
but memory management has been improved over time and restarting the service
every 30 minutes is no longer required. From product update 405, the default
value for this setting is 43200 (12 hours).
- ExtensiveLogging
This setting may be enabled (set to "true") for support
purposes. When creating the test file c:\exeashow.txt, a log file c:\logfile.log
will be created with debug messages. When
activating this setting, more information will be written to that log file.
- DelayInSeconds (ICL only)
Determines the delay between the
latest change in an order (orkrg.sysmodified and orsrg.sysmodified) and
starting the ICL process for that order, to prevent locking problems.
- RetryInMinutes
Starting from product update 405, this setting is also available for the WMS
services. In earlier product versions, this setting was only available for
the ICL services.
After a functional error occurred, the
service should allow some time for the user to correct the problem, like
closing an order after 'Data in use', creating a missing item code (ICL) or correcting a problem with an order
status (WMS). If not for this setting, the service would retry the same
problem order or scanner transaction every 10 seconds, and create an error
record every 10 seconds. Now the problem transaction is only retried after
'RetryInMinutes' has passed. The default value for this setting is 60
(minutes). This means that 'problem' transactions are only retried once in
an hour, and that only one error record per hour would be created in the WMS error log table.
This method applies the system time both from the services PC and from the
SQL server, these need to use the same time zone.
Do not use a too short delay for
this setting, that will result in heavy CPU usage and creating too many records
in log table csPickitErrorReport when errors occur. It is always possible to
handle problem transactions manually using the WMS or ICL control centers.
The control centers do not apply this 'RetryInMinutes' method.
Checking correct operation
After installation, the services are set to 'manual' start. First open the
company (or companies) in Exact Globe
Next to perform any database updates which may be
needed. After that, go to the services management screen (Start, Run,
services.msc, Enter) and set the E-WMS or ICL services to start
automatically, and start the service at the same time.
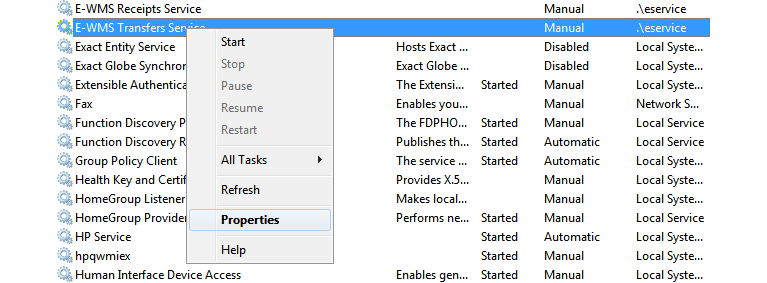


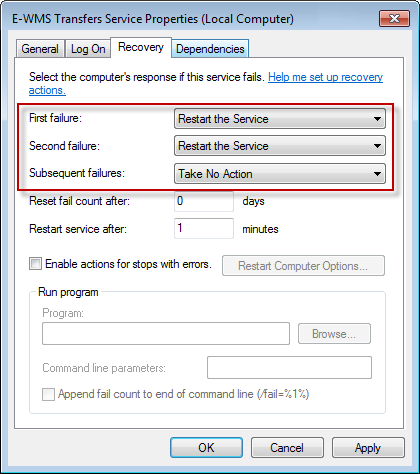
On tab Recovery you can configure whether
the service should automatically restart in case of problems:
If there are any problems detected by the service, or if the service takes a
very long time to start, there might be error messages logged in the Windows
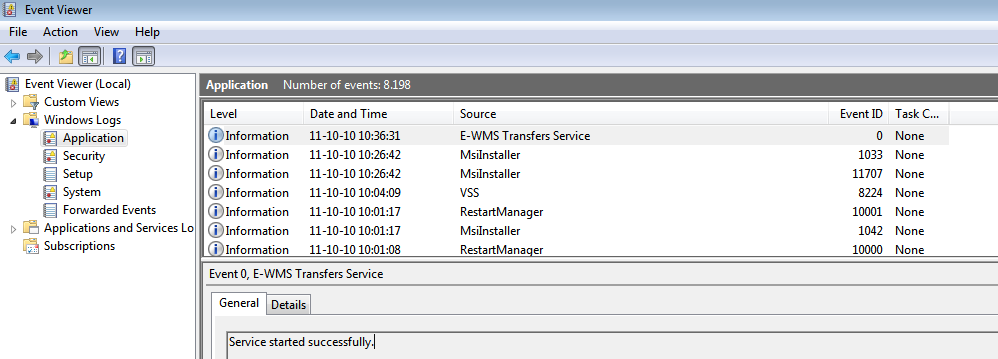
Application event log. This log viewer can be started by choosing Start, Run,
typing eventvwr.msc, followed by Enter.
Choose: Windows Logs, Application:
For explanation of any error messages generated by the services, please search for
the error key words in
the
E-WMS support documents.
When started successfully, please check this event log on regular basis for any
warning messages.
The error messages placed by the services in the Windows event log are
related to starting the service self, or to making a valid connection to the
configured database.
Functional error messages related to processing of transactions by the services, are shown in
Exact Globe Next,
either in the 'RF monitor' (menu WMS, Reports, RF monitor) or in the ICL
monitor screens in menu Order, To be processed, ICL Central admin, ICL
monitor (central company) and in menu Order, To be processed, ICL Sales
admin, ICL monitor (sales company).
Related documents