Installation and configuration of Microsoft IIS for E-WMS ASP on Windows Server 2008 (until release 410)
Introduction
This document describes the steps to install and configure Microsoft IIS
for WMS ASP on a Windows 2008 (32 bit or 64 bit) server, in
release 410 or earlier.
For installation of release 411 and higher, see
this document.
Description
As described in the
general installation checklist, it is assumed that:
Install Microsoft IIS
- Go to Windows menu [Start, Settings, Control Panel, Programs and Features]
- Click in the left panel on Turn Windows features on or off, this will start the Server Manager
- Click on Roles on the left:
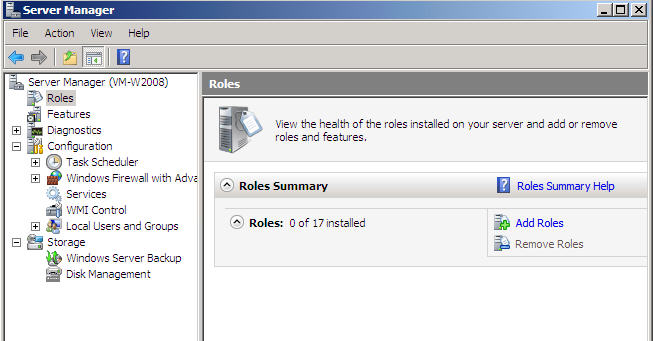
- Click on Add roles on the right, press next if you see the "Before you begin" screen
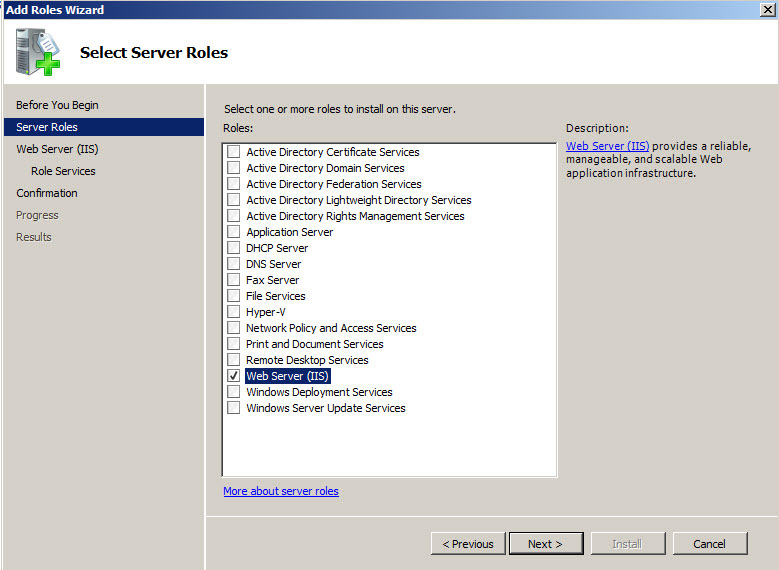
- The screen "Select Server Roles" appears, select Web Server (IIS) and press Next
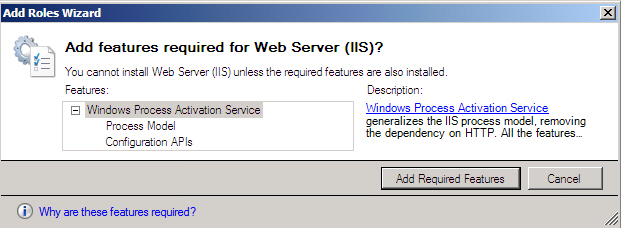
- You may see this message pop up, click Add required features
- Press Next in the screen "Web Server IIS" which starts with "Introduction to Web Server (IIS)".
- In the screen "Select Role Services' check the following options:
(if a pop-up screen appears, acknowledge with Add Required Role Services)
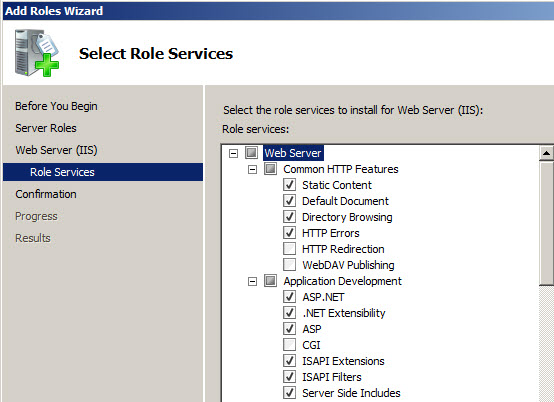

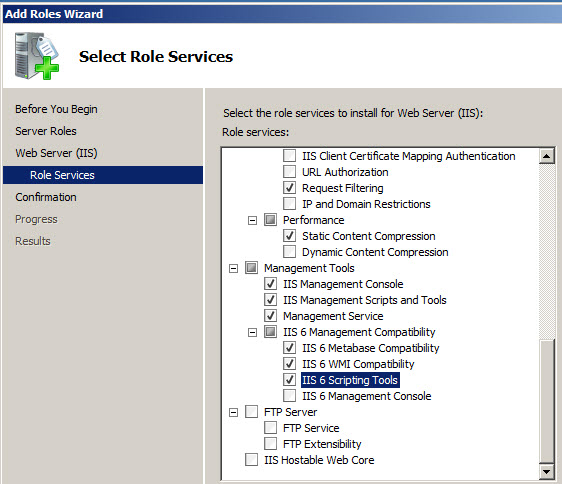
Required options for E-WMS are: all ASP related options, "Static content" and "IIS 6 scripting tools" (for trouble shooting scripts). E-WMS only
uses 'Anonymous authentication', if you are also using this server for
other web sites you may also need 'Basic' or 'Windows' authentication.
- After making your choices, press Next and Install. When done, the screen "Installation Results" will show. Press Close.
Configuration of IIS
- Go to Windows [Start, Settings, Control panel, Administrative tools, Internet Information Services (IIS) Manager]
(or: Start/RUN, Inetmgr)
- Expand the server name, expand "Sites", expand "Default web site"
- Right-click on "Default web site", choose Add application, enter the preferred name (alias) for E-WMS, for example "WMS".
At 'Physical path', browse to the folder where the E-WMS ASP files are located; for example
C:\WMS\IIS.
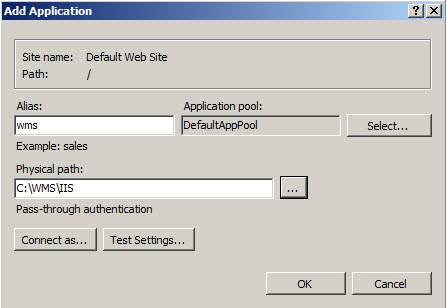
Press OK.
- Now click on your new web site name on the left, in the right panel configuration icons will show.
Authentication
Double click the icon Authentication, make sure 'Anonymous authentication' is enabled and other types are
disabled.

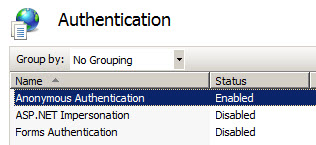
Press back to return to the main configuration screen.
Regional settings
Double-click the configuration option ".NET Globalization" :

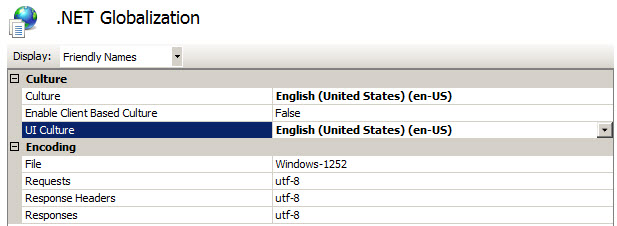
Choose your preferred regional settings. For example, selecting "En-US" will enable the decimal point (".") as decimal separator, selecting "Dutch NL-NL" will enable the comma as decimal separator in Internet Explorer on the mobile device. This setting applies for entry of quantities or prices using decimals, or dates, on the mobile devices. This setting has to be re-configured after each E-WMS update (to be specific: after overwriting the file Web.config with the new version).
Application Pool
WMS ASP requires ASP.NET (.NET Framework 3.5) versions
to run properly. This is managed in IIS by 'application pools'. It is
advisable to create a specific Application Pool for E-WMS ASP, on 64-bit servers
this is required.
Create a new Application Pool
Start the IIS manager and expand the server name. Right click on "Application Pools" and select Add Application Pool.
Name the Application Pool, for instance E-WMS. Set .NET to the required version
for E-WMS. Using .NET Framework 4 is not supported for WMS
IIS.
Choose '.NET Framework v2.0.50727' (=Framework 3.5).
Change 'Managed Pipeline Mode' to 'Classic'.
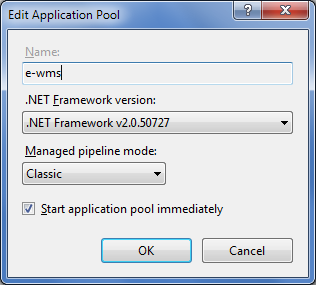
Press OK to save this new Application Pool.
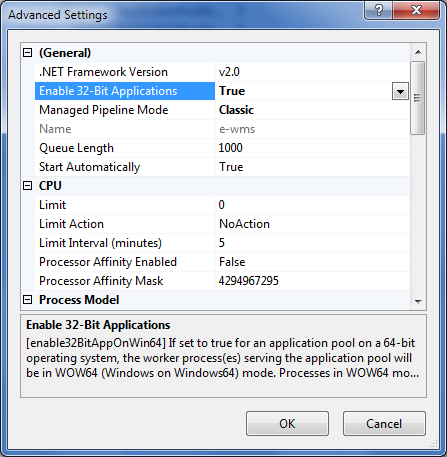
Application Pool advanced settings
In Windows 2008 x64, it is necessary to define a specific setting, which is only available in the Application Pool settings.
Start the IIS manager and expand the server name. Click on "Application Pools", a list with available Application Pools will show. Select the pool you want to use for E-WMS and then press right click, Advanced Settings.
Change the setting "Enable 32-bit Applications" to True and press OK.
Make sure 'Managed Pipeline Mode' is set to 'Classic'.
Link Application Pool to E-WMS web site
When a specific Application Pool was configured for E-WMS, it still has to be
linked to the E-WMS web site. Start IIS manager, expand the server name, expand "Sites", expand "Default web site". Click on the E-WMS web site and choose Basic settings in the far right panel. Click on Select and choose your specific Application Pool:
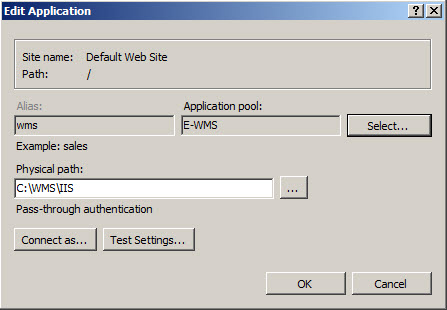
Press OK to save this configuration.
Test IIS
You can test the web site from within the IIS manager. Start IIS manager, expand to the E-WMS web site, right click on the site, Manage Application, Browse. This will start Internet Explorer with this site. You can also start IE on the server and browse to http://localhost/wms (replace 'wms' with your own web site alias).
Related documents
| Main Category: |
Support Product Know How |
Document Type: |
Support - On-line help |
| Category: |
On-line help files |
Security level: |
All - 0 |
| Sub category: |
Details |
Document ID: |
19.561.837 |
| Assortment: |
E-WMS
|
Date: |
21-10-2015 |
| Release: |
|
Attachment: |
|
| Disclaimer |